Soil pit
Soil morphology
Soil morphology is a section of soil science with particular subject and research methods. The start point of any knowledge is subject appearances and distinctive features. That is why morphology as knowledge of observable attributes is a basis of any natural science. The basis of medicine is anthropotomy, the basis of zoology and botany is animal anatomy and plant morphology and the basis of soil science is soil morphology. The knowledge of subject morphology is necessary requirement for further study of its characteristics and relations with other subjects. Soil morphology is a basis of soil attribution and therefore soil classification.
Placement of soil pit
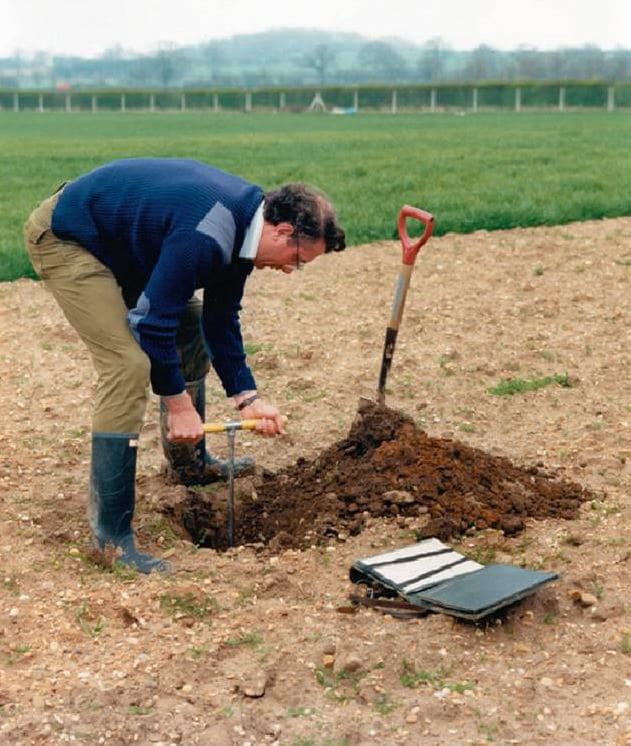
Soil pit is a specially dug hole for soil observations in nature, taking samples and setting of bounds between different soils. There are three types of soil pits: complete (basic) pit, semi-pit (control pit) and superficial (open) pit.
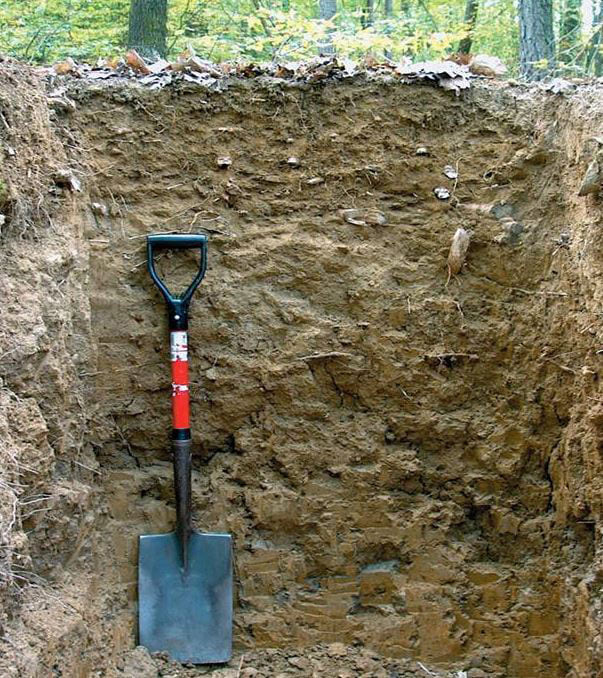
Complete or basic pit are digging to uncover all soil horizons and the top of unaltered or slightly altered parent rock. Complete pits are located in the most typical, characteristic places. The purpose of basic pit is detailed scrutiny of morphologic and genetic soil characteristics, taking of samples for physicochemical, biological and other analysis, attribution of soil color, structure etc.
Soil pit depth can be very different depending on soil thickness and research aim. Usual soil pit is 1-2 meters depth.

Semi-pit or control pit is usually 0.75 – 1.25 meters depth, not reaching parent rock. The main purpose of semi-pit pit is additional (control) study of main part of soil pit i.e. thickness of organic, humus and other soil horizons, depth of salt basement, range of leaching, podzolization, solonetzation etc.

Superficial (open) pit (depth less than 0.75 meters) are necessary for setting of bounds between different soils discovered by complete and semi-pit pits.

Rules for soil pit placement
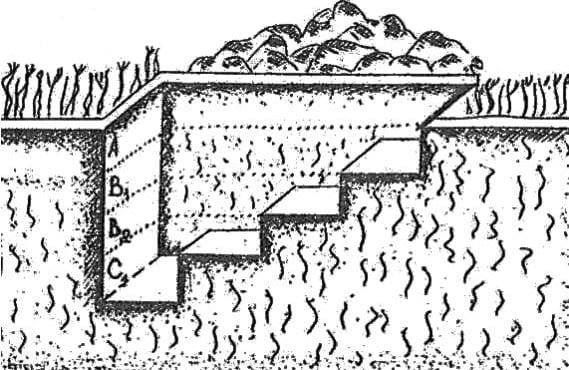
The hole of 0,8х1,5х2 meters is digging on the selected place, with three plumb vertical walls and one wall in the form of stairs with stages. The front wall intended for observation have to be directed toward the sun. The soil from the hole has to be thrown out to the long sides of the pit, not to the front side, to avoid destruction of top part of the front wall and its dirtying. The soil from the upper layers has to be thrown out to the one side and the soil from the lower layers (starting with light-colored slightly-humused horizon) to other side. The hole has to be filled up in the reverse order to minimize damage for nature: the soil from the lower layers has to be thrown down in the first place, soil from the upper layers has to be thrown down in the second place.
The description of soil pit (soil profile description form) is started with the profile number, geographical location and position relative to constant reference points (localization). Field journal writings have to be done by pencil, plainly, without corrections and erasures. The first stage is to take sample of parent rock for analysis and to define genetic type of parent rock, its texture, the degree of salinity and humidification . Later the lower part of front wall and the hole bottom can be littered by crumbled soils of uppers horizons. The second stage is to align the front wall by spade. The right half of aligned wall can be used for extraction of analysis by chisel, knife or shovel and for scrutiny of morphologic and genetic soil characteristics. The left half of aligned wall is a ground for comparison and control. The next stage is detailed scrutiny of morphologic and genetic soil characteristics and soil profile description.